Scouting · Guide
Trail camera placement: where to put cameras for deer, and how to aim them once you're there
The camera matters less than the tree, and the tree matters less than the angle. Six set types, the distance and angle rules that apply to all of them, the sun mistake everyone makes once, and when to leave a set alone.
By Mike M.Updated Spec-checked, not field-tested
#adReader-supported: we may earn a commission if you buy through our links, at no extra cost to you. It never decides a ranking. How we rank · Disclosure
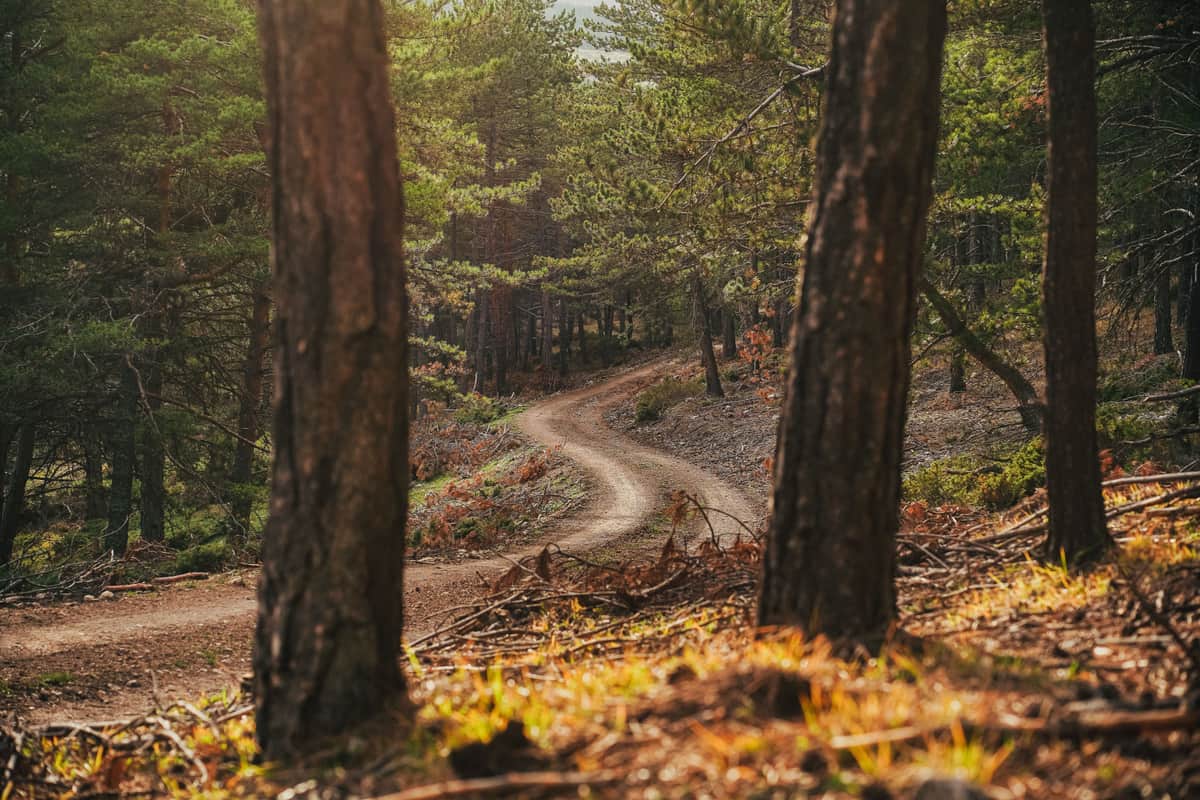
Three rules that apply to every set
- Distance: 20 to 30 feet. Close enough that the flash lights the deer at night (rated ranges of 80 to 120 feet are maximums; useful night reach is far shorter) and the PIR sees it cleanly; far enough that a deer passing fills the frame instead of blurring through it.
- Angle: 30 to 45 degrees to the trail. A camera square to a trail sees a deer for a second or two; angled along the trail it watches the deer walk toward it for 30 or 40 feet. That's how a 0.4 s camera performs like a 0.2 s one. See detection range for the geometry.
- Height: 3 to 4 feet, level, unless theft says higher. See height.
The six set types
- Scrapes and licking branches. The highest-percentage set from October on. Deer stop, so trigger speed doesn't matter; aim at the licking branch, 20 feet out, and expect the buck's head down at the scrape and up at the branch. A mock scrape under a good branch works where you can't find a natural one.
- Trails. The classic set and the hardest to do well. Find where two trails merge or where a trail bends; set on the inside of the bend, angled along the approach.
- Pinch points. A fence gap, a creek crossing, a saddle, the end of a ditch. Deer funnel through a spot a few feet wide; put the camera there and the angle rule matters most, because the deer are moving.
- Field edges and food plots. Deer enter at the same corners. A camera on the edge looking down the edge (not out across the field) catches every entry. Where there's no tree, a stake or T-post mount.
- Water. On a dry year, the best set on the property. Deer approach a tank or creek pool from the same side; set on the opposite bank looking back at the approach.
- Bedding edges. The set with the most information and the most risk. One camera, on the downwind edge, checked by cellular only. Walking in to pull a card here costs more than the photos are worth.
Sun, wind and scent
Wind matters twice: a swaying branch in frame is a false trigger, and your scent on the set is what educates deer. Trim the lane, wear gloves on the camera and the tree, and approach from downwind of the trail. The less you visit, the better the set works, which is the practical argument for a cellular camera on any set that matters.
Early season, rut, late season
- Early season (August through September): food. Field edges, plot corners, mast trees when the acorns drop. Bucks are in bachelor groups on a pattern; inventory them here.
- Pre-rut and rut (October through November): scrapes first, then pinch points and travel corridors between doe bedding and food. Move a camera off a dead scrape without guilt.
- Late season (December on): back to food, especially standing grain and green plots, and the south-facing bedding edges deer use in cold. This is when cold-weather batteries decide whether the camera is still running.
Public land
Everything above, plus: set off the marked trails, higher than eye level, in a steel box, and expect that a camera on a well-known parcel will be seen by someone. Check the rules on screw-in mounts and on leaving equipment; a strap-on holder is the safe choice. Cellular cameras earn their plan here by cutting your visits to the set. The theft layers are in keeping your camera from being stolen.
When to move a camera
Two weeks with no target-buck photos on a scrape or trail set in season: move it. A month with nothing but does on a bedding edge: move it. A feeder or plot camera that's producing inventory every night: leave it, even if the buck isn't there yet; that's the camera you'll check on November 5th. The mistake is moving the productive camera because it's boring and leaving the dead one because it's a good tree.
The gear that makes any tree work
Our picks for this
A camera that lets you stay out of the set, and two mounts for the aim
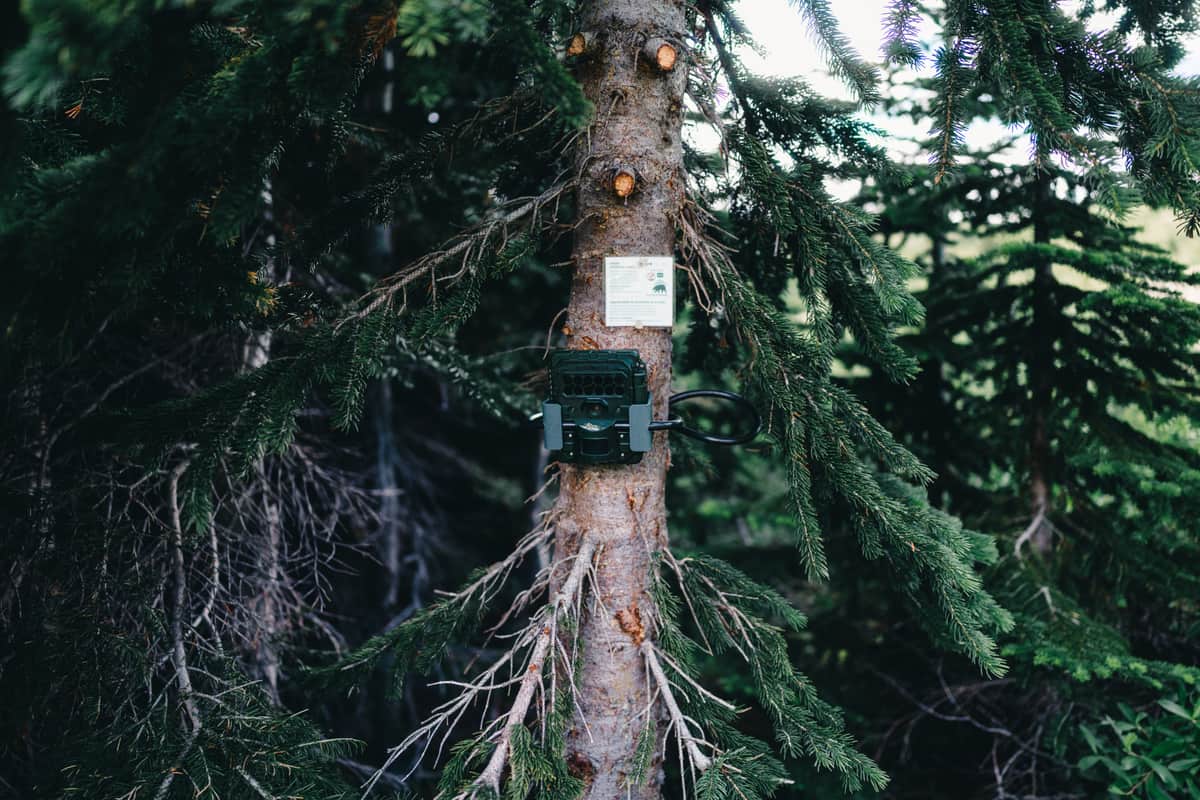
The Flex-Dark for sets you shouldn't walk to; the Tree Mount for a leaning trunk; the Ground Mount for the plot corner with no tree.
 Stock photo
Best no-glow cellular camera
Spypoint Flex-Dark
Spypoint8.4/10Both low-glow and no-glow LEDs, 0.3 s trigger, 100 ft detection and flash, dual SIM, and Trailcampro's 2026 cellular flash-range winner, on the cheapest plan structure in the business.
Check price · Amazon#ad · Price set by Amazon · Disclosure for the link to Spypoint Flex-Dark
 Stock photo
Best trail camera tree mount
HME Trail Camera Holder Tree Mount
Tree mount9.2/10A $15.99 screw-in tree mount with 360° rotation and 120° tilt on a standard 1/4-20 stud: the cheapest way to aim a camera at a trail instead of where the trunk points.
Check price · Amazon#ad · Price set by Amazon · Disclosure for the link to HME Trail Camera Holder Tree Mount
 Stock photo
Best trail camera ground stake
HME Trail Camera Holder Ground Mount
Post / stake8.1/10A spade-foot stake that adjusts from 26 to 36 inches with a 360° pan-tilt head, for scrapes, field edges and anywhere there's no tree.
Check price · Amazon#ad · Price set by Amazon · Disclosure for the link to HME Trail Camera Holder Ground Mount
How we scored this
Cameras we claim to have field-tested: none we don't own
Plenty of sites say they hung every camera on this list in a tree for a season. We don't say that, and we say so on every page. What we do instead: read the maker's published trigger speed, flash type, battery configuration and detection range; verify each brand's plan tiers on its own plan page and compute the real monthly cost at one and four cameras; cite the independent shootouts (Trailcampro, Outdoor Life, Field & Stream, TechGearLab) as their measurements, never ours; and score every pick on a public rubric. Every figure links to where it came from.
Scores are editorial judgments from that documented research, not lab results. Commissions never set a score or decide a pick. The rubric and its weights are published.
Questions
Frequently asked
Where is the best place to put a trail camera for deer?
On sign deer are already using: a scrape in October, a merged trail or pinch point, a field-edge entry corner, water on a dry year. Twenty to thirty feet out, angled along the trail, facing north or south.
How far should a trail camera be from the trail?
Twenty to thirty feet. Closer for a no-glow camera at night, farther only if the camera has a wide detection angle and you're covering a field entry.
Should a trail camera face the trail or along it?
Along it, at 30 to 45 degrees. A deer walking toward the camera through the detection zone is caught centered; one crossing square to the lens is caught late and clipped.
How long should I leave a trail camera in one spot?
Two weeks minimum before judging it, longer on food sets. Move a dead scrape or trail camera in season; leave a producing feeder or plot camera alone.
Keep reading
Related on Cam & Canopy
Receipts
Sources
- Spypoint — FLEX-DARK product page (checked 2026-09-21)
- HME Products — Trail Camera Holder Tree Mount product page (checked 2026-09-21)
- HME Products — Trail Camera Holder Ground Mount product page (checked 2026-09-21)
- Trailcampro — GardePro T5NG review, measured figures (checked 2026-09-21)
- Moultrie — EDGE 3 PRO product page (checked 2026-09-21)
- Bushnell — CORE DS-4K No Glow product page (checked 2026-09-21)
We don't claim to have field-tested these cameras and we don't pretend to. Specs come from the maker's own product pages (linked on every product), plan prices from the maker's plan page with an “as of” date, and independent measurements are attributed to whoever made them. Amazon prices change often, so we don't print them. Where a figure isn't published, we say so. Read the full method.